|
|
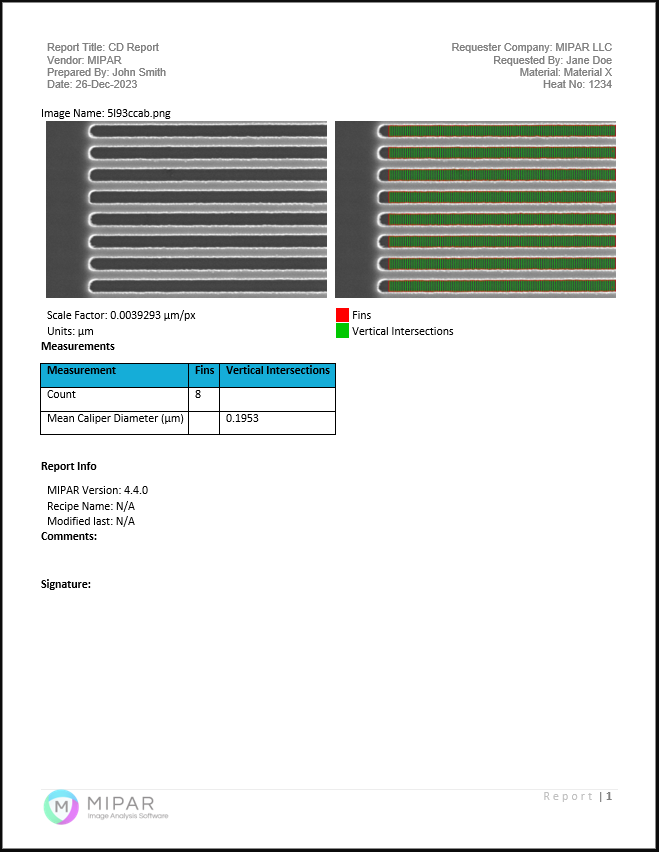
Understanding Critical Dimensions Across Diverse Manufacturing SectorsEnsuring that manufactured components meet their intended geometric specifications is essential for product reliability, safety, and performance. The concept of critical dimensions—precisely measured and controlled geometric features—lies at the heart of modern quality assurance. Accurately verifying these dimensions can mean the difference between a product that meets strict industry standards and one that risks malfunction or premature failure.
|
Talk to an Applications Engineer
Critical Dimensions in Semiconductor and Circuit Board Manufacturing
In semiconductor fabrication, maintaining exact dimensions at the nano- and micron-scale is paramount. Critical dimensions govern the integrity of transistors, interconnects, and thin film layers:
Gate Length Control: Ensuring uniformity in gate lengths affects transistor switching speed and energy efficiency.
Layer Thickness Verification: Precise layer measurements ensure proper conduction paths and prevent electrical failures.
Defect and Uniformity Assessment: Detecting pattern irregularities and dimensional inconsistencies helps uphold high device yields and stable chip performance.
Learn More About Critical Dimensions in Semiconductors »
Critical Dimensions in Final Part Analysis
As products near completion, verifying that their final geometry aligns perfectly with design intent is crucial. In final part analysis:
Adherence to Design Tolerances: Confirm dimensions, diameters, and other geometric features to safeguard assembly compatibility and product longevity.
Material and Process Insights: Analyzing deviations helps pinpoint process inefficiencies, enabling continuous improvement and cost savings.
Quality Assurance and Compliance: Meeting ASTM and other industry standards ensures that products pass audits, inspections, and customer requirements without costly redesigns or recalls.
Learn More About Critical Dimensions in Final Part Analysis »
Critical Dimensions in Weld Analysis
In welding, exacting dimensional control ensures structural integrity and prolonged service life of critical assemblies:
Weld Bead Geometry: Measuring bead width, reinforcement height, and penetration depth validates that joints can withstand operational loads.
Heat Affected Zone (HAZ) Assessment: Understanding dimensional changes within the HAZ ensures consistent mechanical properties and reduces the risk of failure.
Defect and Failure Analysis: Identifying and sizing voids, cracks, or inclusions supports timely intervention, preventing costly maintenance or dangerous failures.
Learn More About Critical Dimensions in Weld Analysis »
Check Out Our Products
MIPAR Base: our core product to analyze images from almost any source. Extensions enable Deep Learning models, Word reports and 3D data analysis. MIPAR Base Page >> |
Microscope Software: capture, analyze and report all in a single workflow with MIPAR Live. Check to see if your camera is supported. MIPAR Live Page >> |
Compliance Software: analyze, report, and approve in a 21 CFR Part 11 or GMP Annex 11 compliant environment with traceability. MIPAR Checkpoint Page >> |
MIPAR APIs: tools to help integrate MIPAR detection and measurement solutions into other software applications and workflows. APIs Page >> |
CallGive us a call
Mon-Fri 9am-6pm EST +1-614-407-4510
|
MessageTell us how we can help!
|
ChatChat with us
Mon-Fri 9am-6pm EST |